| ||||
| ||||
|
|

IP9100A Network Video Server Installation

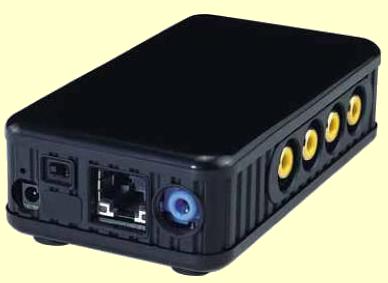
Installation is pretty easy. Plug in the power (5 volts). Plug in a network cable and connect it to the router. Plug video sources into one or more of the 4 video inputs. If the unit isn't new, reset to factory settings by pushing a pin into the reset hole above the power jack.
The IP9100A’s internal web server will start up on port 80. The IP address will be assigned by the DHCP server in the router.
A program called IPEdit comes on the CD and it will locate the IP address of the video server automatically in most cases. I wasn't lucky and it didn't work for me. So I used a free IP Scanner to find it.
Use your web browser to access the unit by entering the IP address in the address bar. Something like 192.168.0.177. With Firefox you will see the simple/index.html page view, which shows the video images. With Internet Explorer, after you give it permission, an ActiveX application will load which will show the video images and allow you to control the unit. I prefer Firefox and I found the control difficult to use the way I wanted, so I created my own command interface which I am sharing on this web site.
Simple web pages contain the specific commands used to configure the IP9100A to show the webcams or to upload the images to a web site.
You can create your own custom pages by following the instructions. Later, you can modify the created html code to do things your own way.